As of version 1.4, Phoenix has changed its front end configuration framework from Brunch to webpack version 4 (reasons given in this pull request). This means that the way to get Elm connected to Phoenix has also changed since I last wrote about it, so this blog post will re-tread those main steps (read: copy-paste them from the previous blog entry where possible), updating information where relevant.
NOTE: Phoenix 1.4 is in beta at the time of this writing, so if it still is at the time of your reading this, and you would like to follow along, you can install Phoenix 1.4 Beta by doing the following:
mix archive.uninstall phx_new
mix archive.install https://github.com/phoenixframework/archives/raw/master/1.4-dev/phx_new.ez
Don’t forget to re-install the latest stable version of Phoenix when you are done experimenting!
mix archive.uninstall phx_new
mix archive.install https://github.com/phoenixframework/archives/raw/master/phx_new.ez
Generate Phoenix app
mix phx.new phx_elm_webpack
cd phx_elm_webpack
mix ecto.create
mix phx.server
Navigate to http://localhost:4000/ and you should see the familiar Phoenix welcome screen.
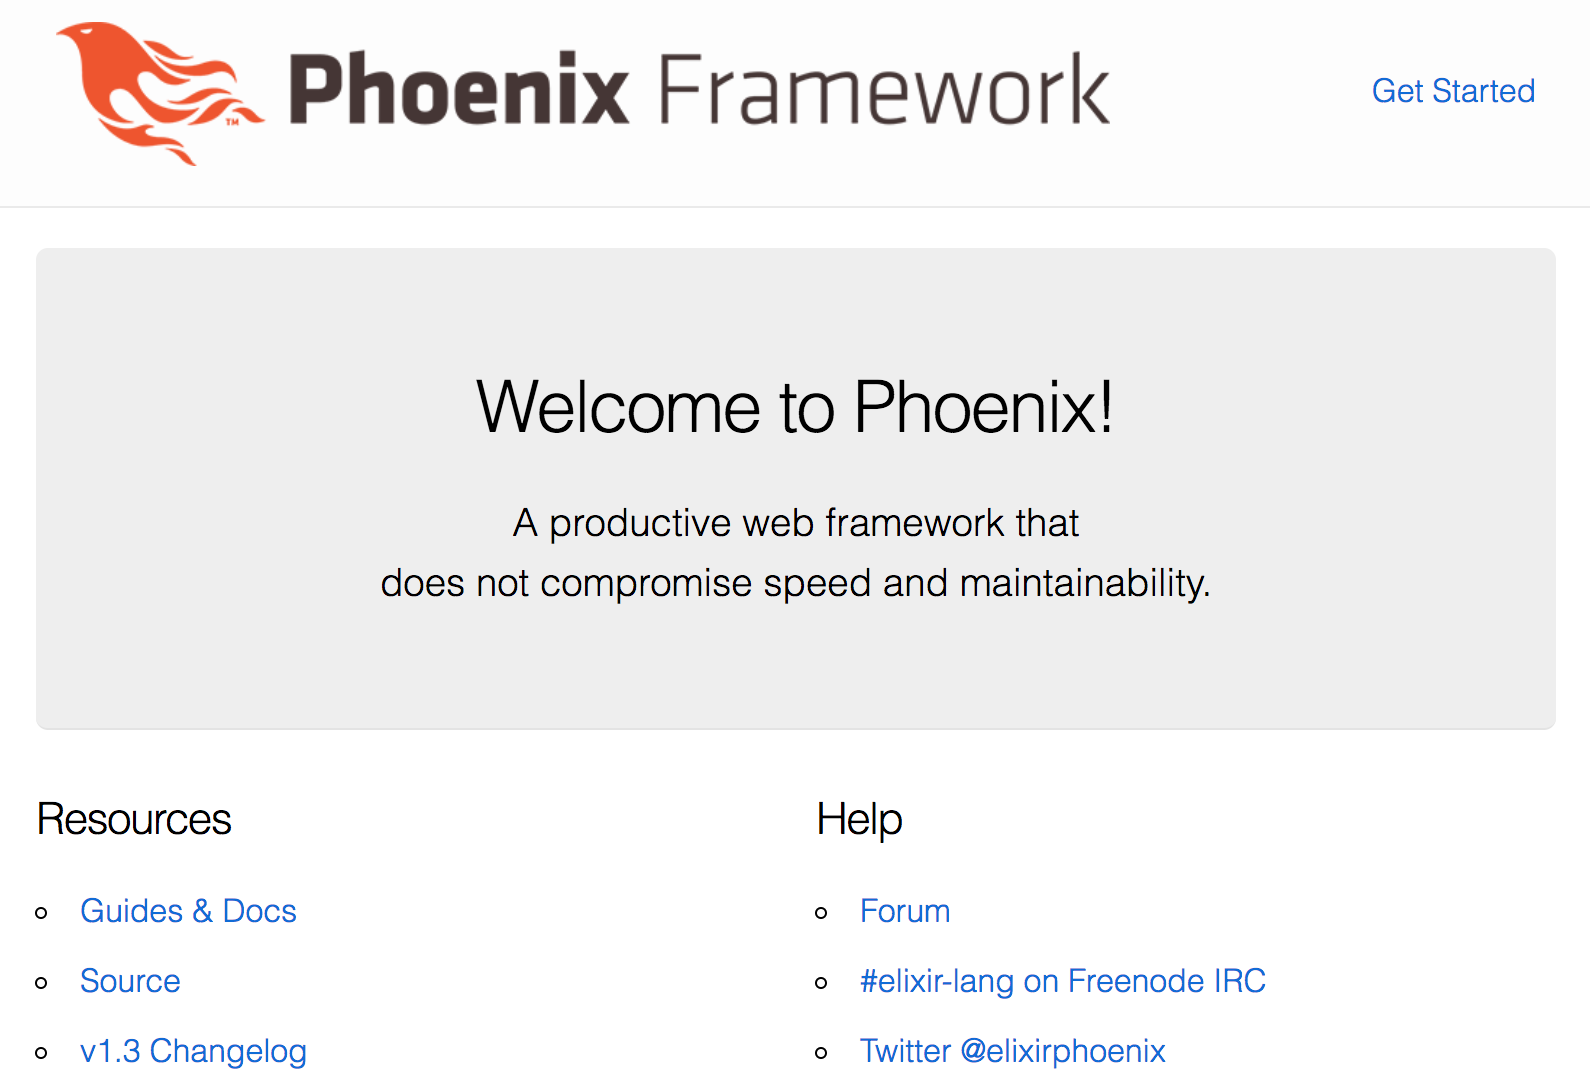
No surprises here. Close down the server, and let’s move on.
Generate Elm app
First, install Elm if you haven’t already:
npm install elm --global
Next, in order to help us generate an Elm app with a default structure and sensible configuration, we’ll use Create Elm App (inspired by Create React App):
npm install create-elm-app --global
Generate the new Elm app inside the “front end” of the Phoenix application, which in this case means the assets/ directory:
cd assets
create-elm-app elm
You should now have an elm folder alongside your js and css folders. Let’s make sure it works as we expect:
cd elm
elm-app start
Starting the Elm app should then automatically open a browser window for you at http://localhost:3000/, and you should see a message saying that…

Note that the Elm app is running independently here: it knows nothing about the Phoenix environment that it’s located in, and is happily using assets, like the image that you see, from its own assets/elm/public/ directory.
Now that we’ve confirmed that both the Phoenix app and the Elm app work of their own accord, it’s time to connect them together. Close down the Elm server and let’s write some config.
Connect Elm to Phoenix
In order to get webpack to track our new Elm dependencies, we will need the Elm loader plugin. So, navigate to the assets/ folder and install it:
npm install elm-webpack-loader
Now, open up webpack.config.js in a text editor and add the configuration rule for Elm files underneath the css rule:
assets/webpack.config.js
// ...
module.exports = (env, options) => ({
  // ...
  module: {
    rules: [
      {
        test: /\.js$/,
        exclude: /node_modules/,
        use: {
          loader: 'babel-loader'
        }
      },
      {
        test: /\.css$/,
        use: [MiniCssExtractPlugin.loader, 'css-loader']
      },
      {
        test: /\.elm$/,
        exclude: ["/elm-stuff/", "/node_modules"],
        loader: "elm-webpack-loader",
        options: {
          debug: true,
          // NOTE: `warn` option was removed in Elm 0.19.
          // Re-enable if desired for use in Elm 0.18.
          // warn: true,
          cwd: path.resolve(__dirname, "elm")
        }
      }
    ]
  },
  //...
});
Display Elm app in Phoenix template
So that we show both Phoenix and Elm working together, let’s keep the default generated Phoenix layout template as-is, and replace the content of the page index template with a <div> tag for the Elm app:
lib/phx_elm_webpack/templates/page/index.html.eex
<div id="elm-main"></div>
Next, we’ll target that <div> tag and replace it with the content of the Elm app:
assets/js/app.js
Elm 0.18
// ...
import Elm from "../elm/src/Main.elm"

const elmDiv = document.getElementById("elm-main")
Elm.Main.embed(elmDiv)
Elm 0.19
// ...
import { Elm } from "../elm/src/Main.elm"

const elmDiv = document.getElementById("elm-main")
Elm.Main.init({ node: elmDiv })
Now, run mix phx.server again and navigate to http://localhost:4000 to see if we’re in business:

Well, we’re pretty much there: we can see that the Elm app is being rendered in the template, but we’ve got a broken image. This is because that image currently lives inside the Elm app at assets/elm/public/logo.svg, and Phoenix doesn’t know anything about compilation of static image assets within Elm applications: it’s looking for assets under its own assets/static/ directory.
The path of least resistance here is, I think, to move all assets to where Phoenix is expecting to find them, and change the Elm code to point to them.
So, first, move the logo image into Phoenix’s image assets directory:
mv assets/elm/public/logo.svg assets/static/images/logo.svg
Then, change the Elm code to look for the image in Phoenix (/images/logo.svg), rather than in Elm (/logo.svg):
assets/elm/src/Main.elm
module Main exposing (..)

-- ...

view : Model -> Html Msg
view model =
    div []
        [ img [ src "/images/logo.svg" ] []
        , h1 [] [ text "Your Elm App is working!" ]
        ]
Now, at http://localhost:4000/, you should see the following:
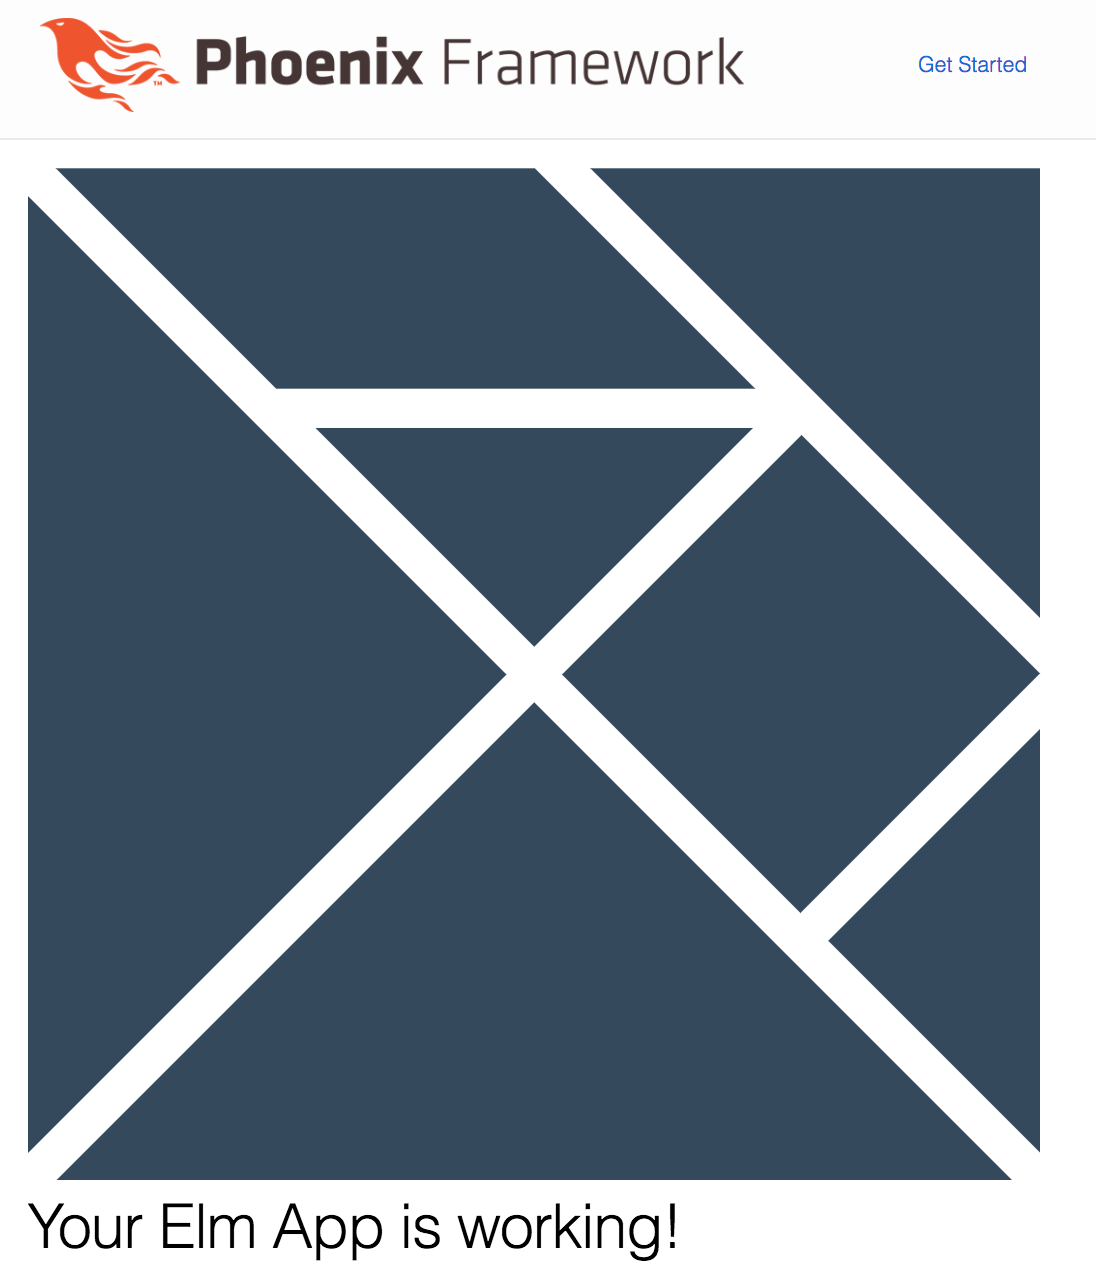
At this point, everything is technically working, so you can happily continue your application bootstrapping, but if you need to have the styling on this screen pixel perfect before finishing, read on.
Tell webpack about Elm app styling
Currently, the Elm app has some styling in assets/elm/src/main.css, and Phoenix has its styling in assets/css/app.css. However, if we have a look at the top of assets/js/app.js, we can see that only the Phoenix CSS is being imported, and hence loaded, by webpack. So, let’s see what happens when we get webpack to load the Elm application’s CSS file as well:
assets/js/app.js
import css from "../css/app.css"
import "../elm/src/main.css"
Re-start the app and let’s see what happened…
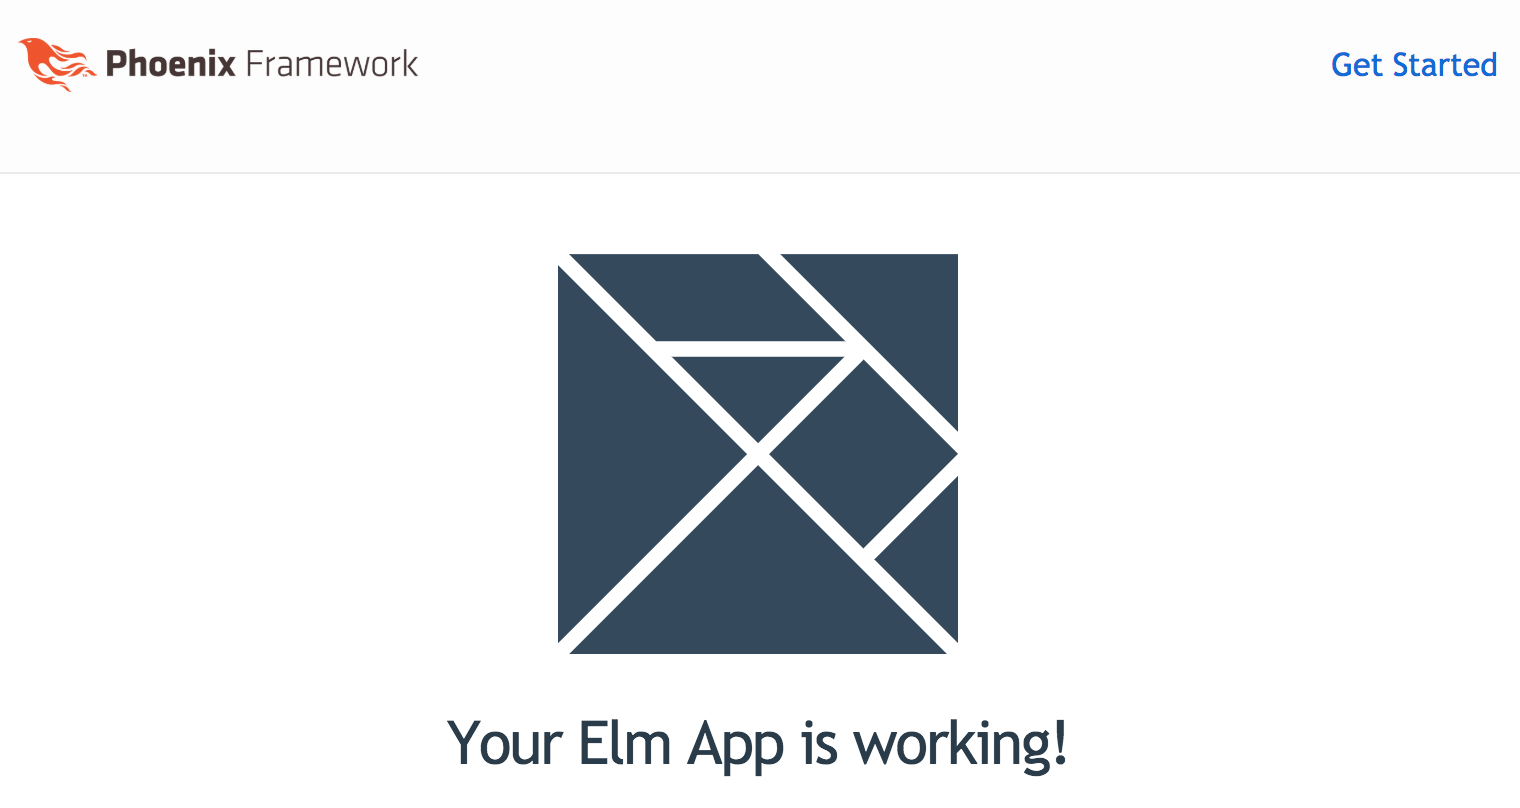
Well, the Elm app styling looks like we would expect, but some of the Elm styles would seem to be overriding the Phoenix styles, so let’s see if we can take the path of least resistance in fixing this (since this is all only temporary anyway…).
First, give the Elm logo a HTML id so we can target styling on it directly:
assets/elm/src/Main.elm
module Main exposing (..)

import Html exposing (Html, text, div, h1, img)
import Html.Attributes exposing (id, src)

-- ...

view : Model -> Html Msg
view model =
    div []
        [ img [ src "/images/logo.svg", id "elm-logo" ] []
        , h1 [] [ text "Your Elm App is working!" ]
        ]
Then, give the Elm styles some minor tweaks from their defaults…
assets/elm/src/main.css
/* ... */

body {
  text-align: center;
}

h1 {
  color: #293c4b;
  font-family: 'Source Sans Pro', 'Trebuchet MS', 'Lucida Grande', 'Bitstream Vera Sans', 'Helvetica Neue', sans-serif;
  font-size: 30px;
}

img#elm-logo {
  margin: 20px 0;
  max-width: 200px;
}
Re-start the app, and…
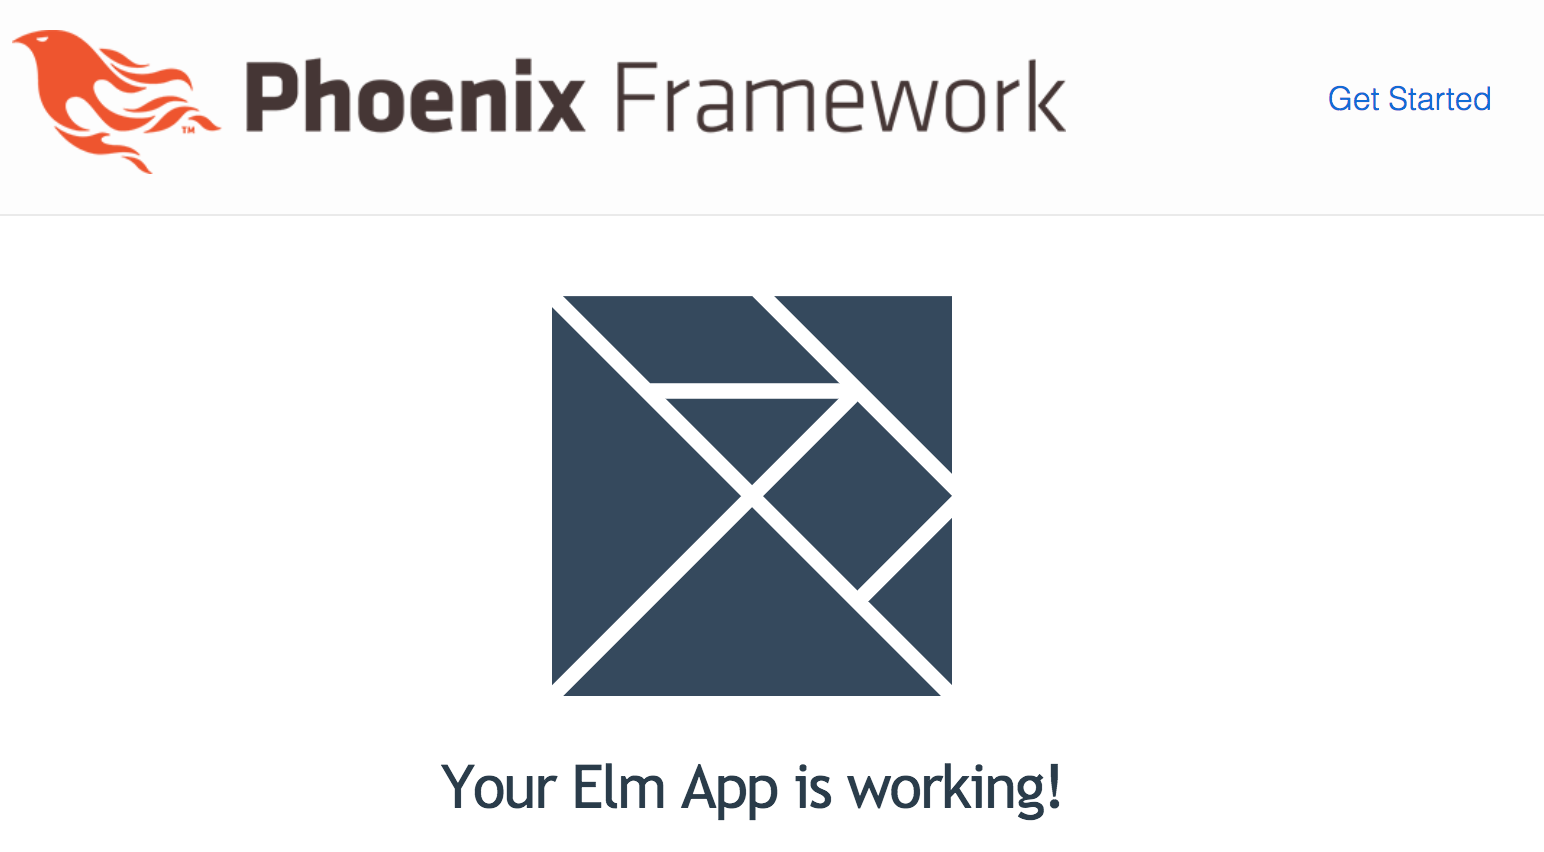
That looks about right. Now, you can get down to the business of ripping it all out again, and start building out your own Phoenix-and-Elm powered app!


Leave a comment